> For the complete documentation index, see [llms.txt](https://docs.bindplane.com/llms.txt). Markdown versions of documentation pages are available by appending `.md` to page URLs; this page is available as [Markdown](https://docs.bindplane.com/how-to-guides/partner-integrations/google-secops/google-secops-configuring-the-https-dataplane-api-protocol.md).
# Send Logs to Google SecOps using the HTTPS Protocol
{% hint style="danger" %}
**Collector v1.94.2 or later required for HTTPS**
Collectors running earlier versions may silently drop logs when the SecOps HTTPS endpoint returns transient errors (429, 502, 504).
See [Resolve Intermittent Ingestion Drop for Google SecOps HTTPS Endpoints](https://docs.bindplane.com/how-to-guides/google-secops/resolve-intermittent-ingestion-drop-for-google-secops-https-endpoints) for details and upgrade instructions.
{% endhint %}
The Google SecOps destination can send logs over two protocols:
* **https** - Uses the [Chronicle API](https://docs.cloud.google.com/chronicle/docs/reference/rest)
* **gRPC** - Uses the legacy Ingestion API.
[Google has deprecated the legacy Ingestion API](https://docs.cloud.google.com/chronicle/docs/deprecations) (end of life July 20, 2027), with the `https` protocol now being the recommended approach.
This guide explains step-by-step how to set up the required Google Cloud resources for configuring Google SecOps destinations to use the `https` protocol.
1. [Create a Role](#create-a-role)
1. [Add Permissions](#add-permissions)
2. [Create a Service Account](#create-a-service-account)
1. [Assign Roles](#assign-roles)
3. [Create an API Key](#create-an-api-key)
1. [Download API Key](#enable-the-api)
4. [Configure the Google SecOps Destination](#configure-the-google-secops-destination)
1. [Verify Setup](#verify-setup)
### Create a Role
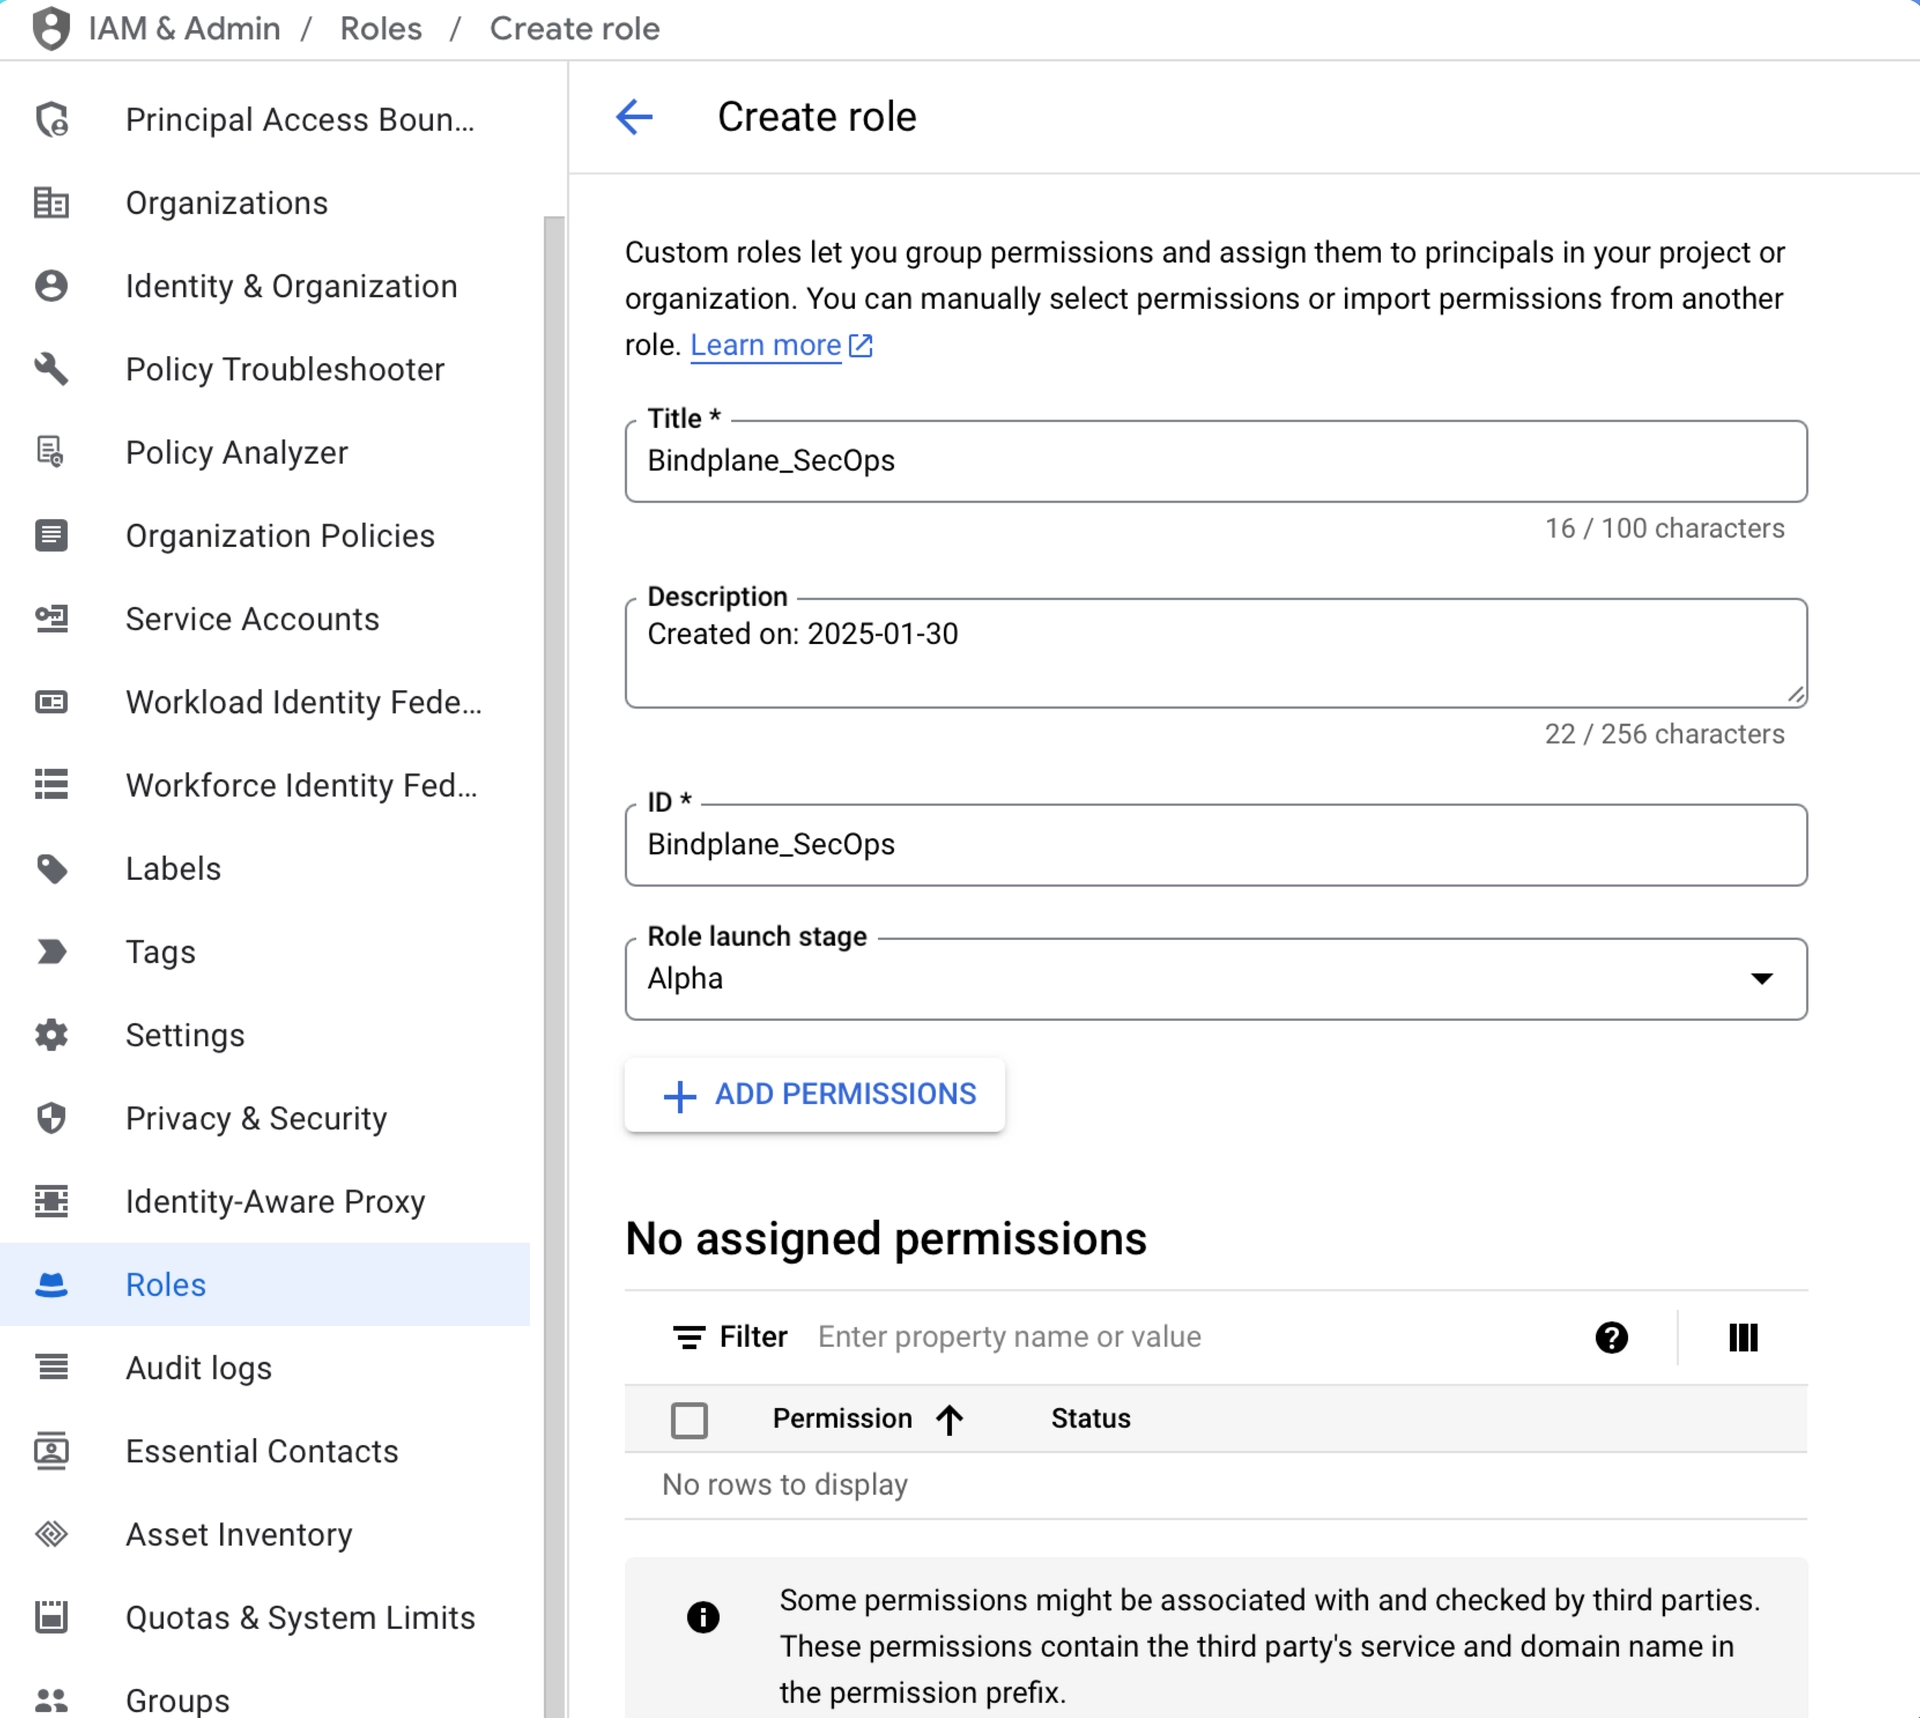
We will first need to create a role for our service account to have the Least Privileged User possible. In IAM & Admin within Google Cloud, go to the "Roles" section in the sidebar and click "Create Role".
For the sake of this walkthrough we can use `Bindplane_Secops` for both our Title and ID. This will make easy to identify the role later.
#### Add Permissions
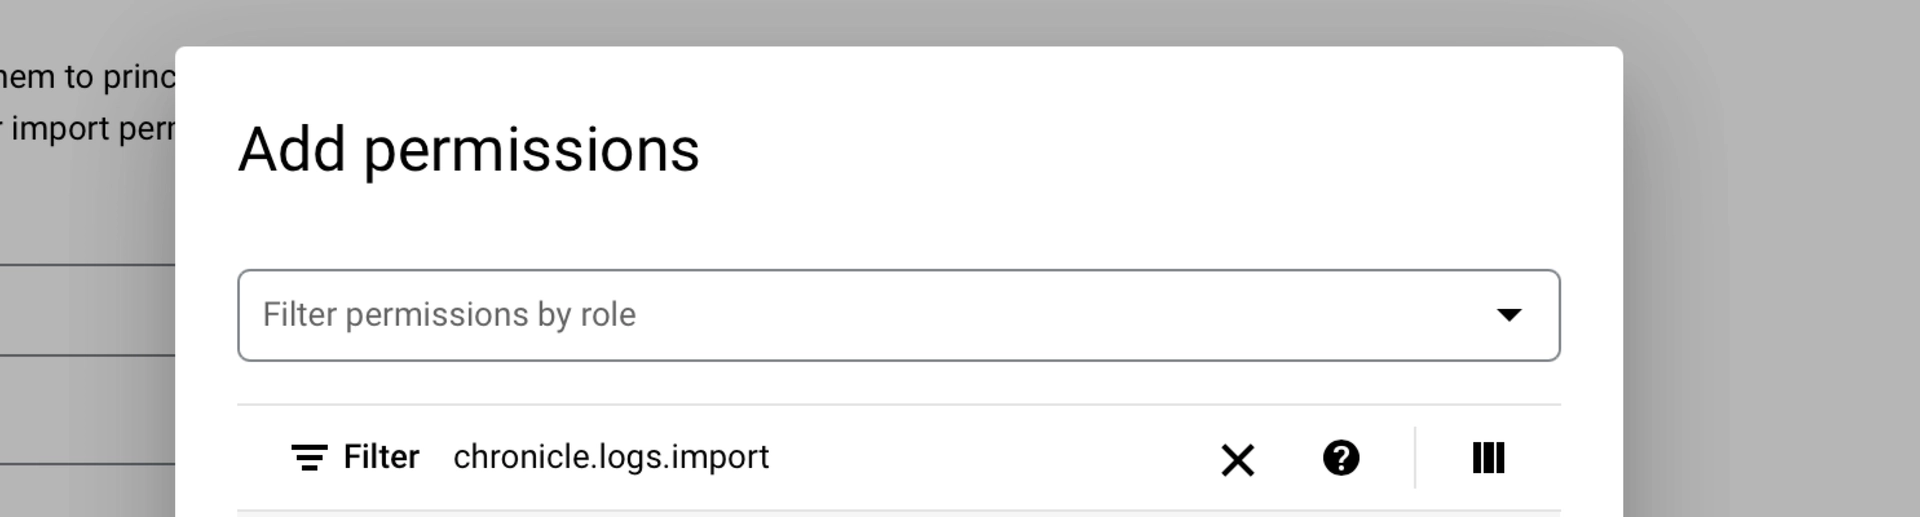
Next we will add the permissions required to export logs to Google SecOps. Use the "Filter" search bar to quickly find the specific permissions as shown in the screenshot below.
**Required Permissions**
```
chronicle.logs.import
```
**Optional Permissions**
In order for the Google SecOps Exporter to natively import [Agent Metrics](https://github.com/observIQ/bindplane-otel-contrib/blob/main/exporter/chronicleexporter/README.md#agent-metrics) into your GCP project (enabled by default), you will also need the following permission:
```
chronicle.forwarders.importStatsEvents
```
### Create a Service Account
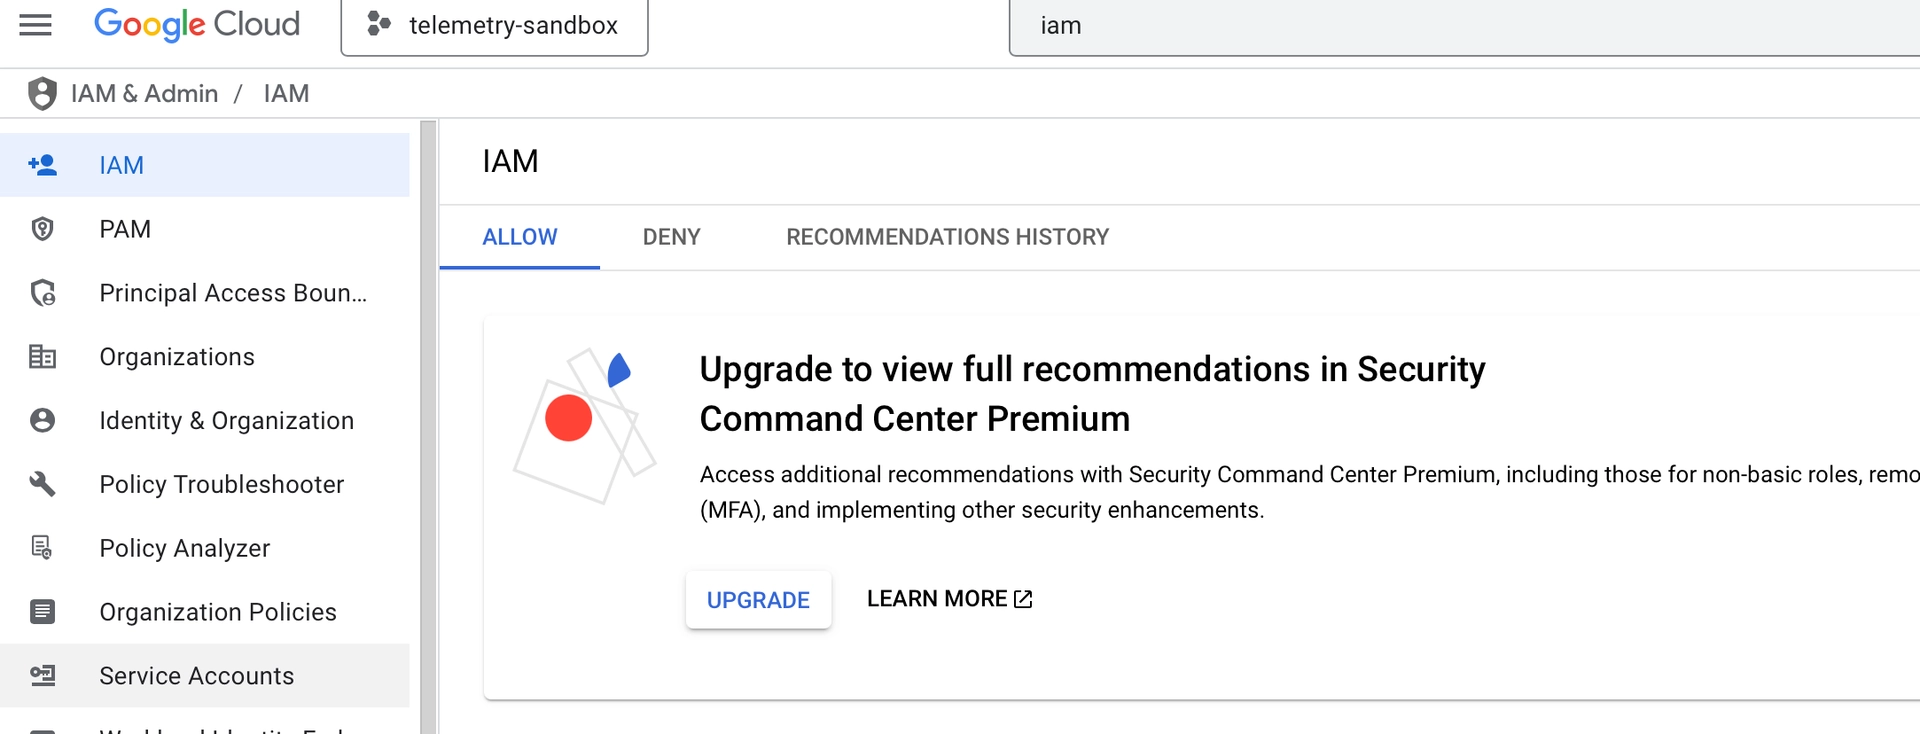
With the role created, go to the "Service Accounts" section of the sidebar.
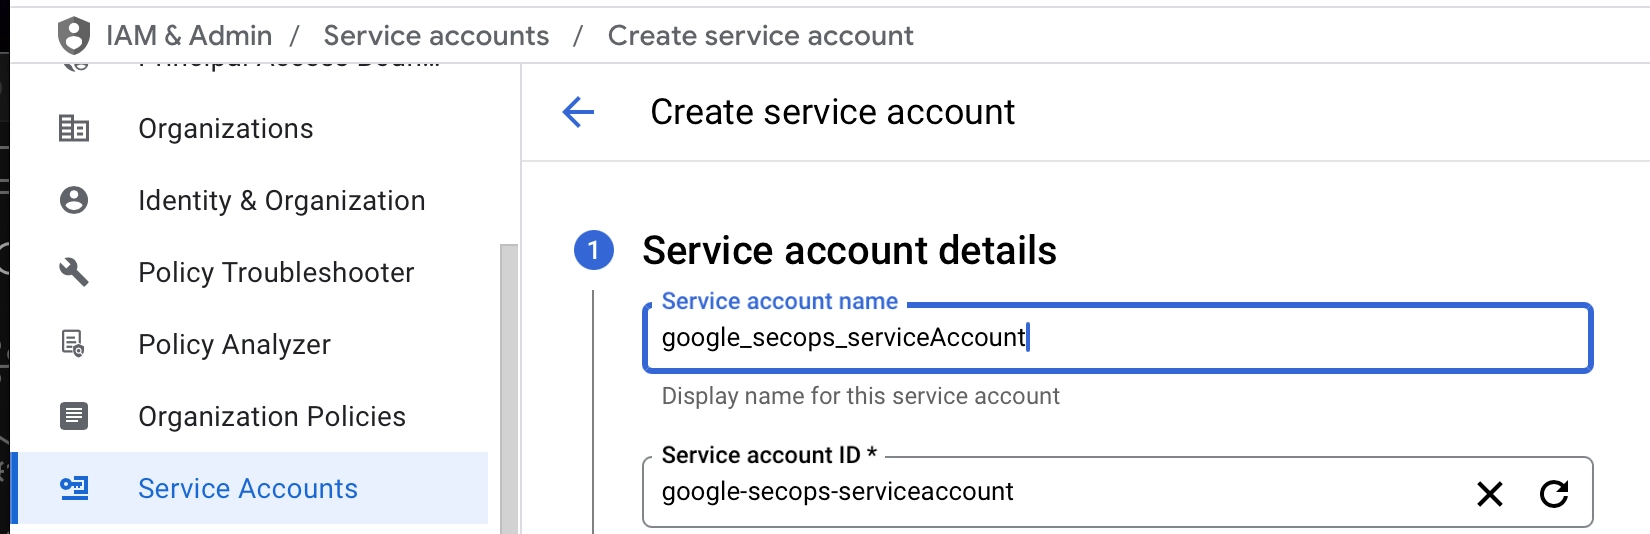
Click the "Create Service Account" button at the top of the page. Give the service account a name, and description. Then click "Create and Continue".
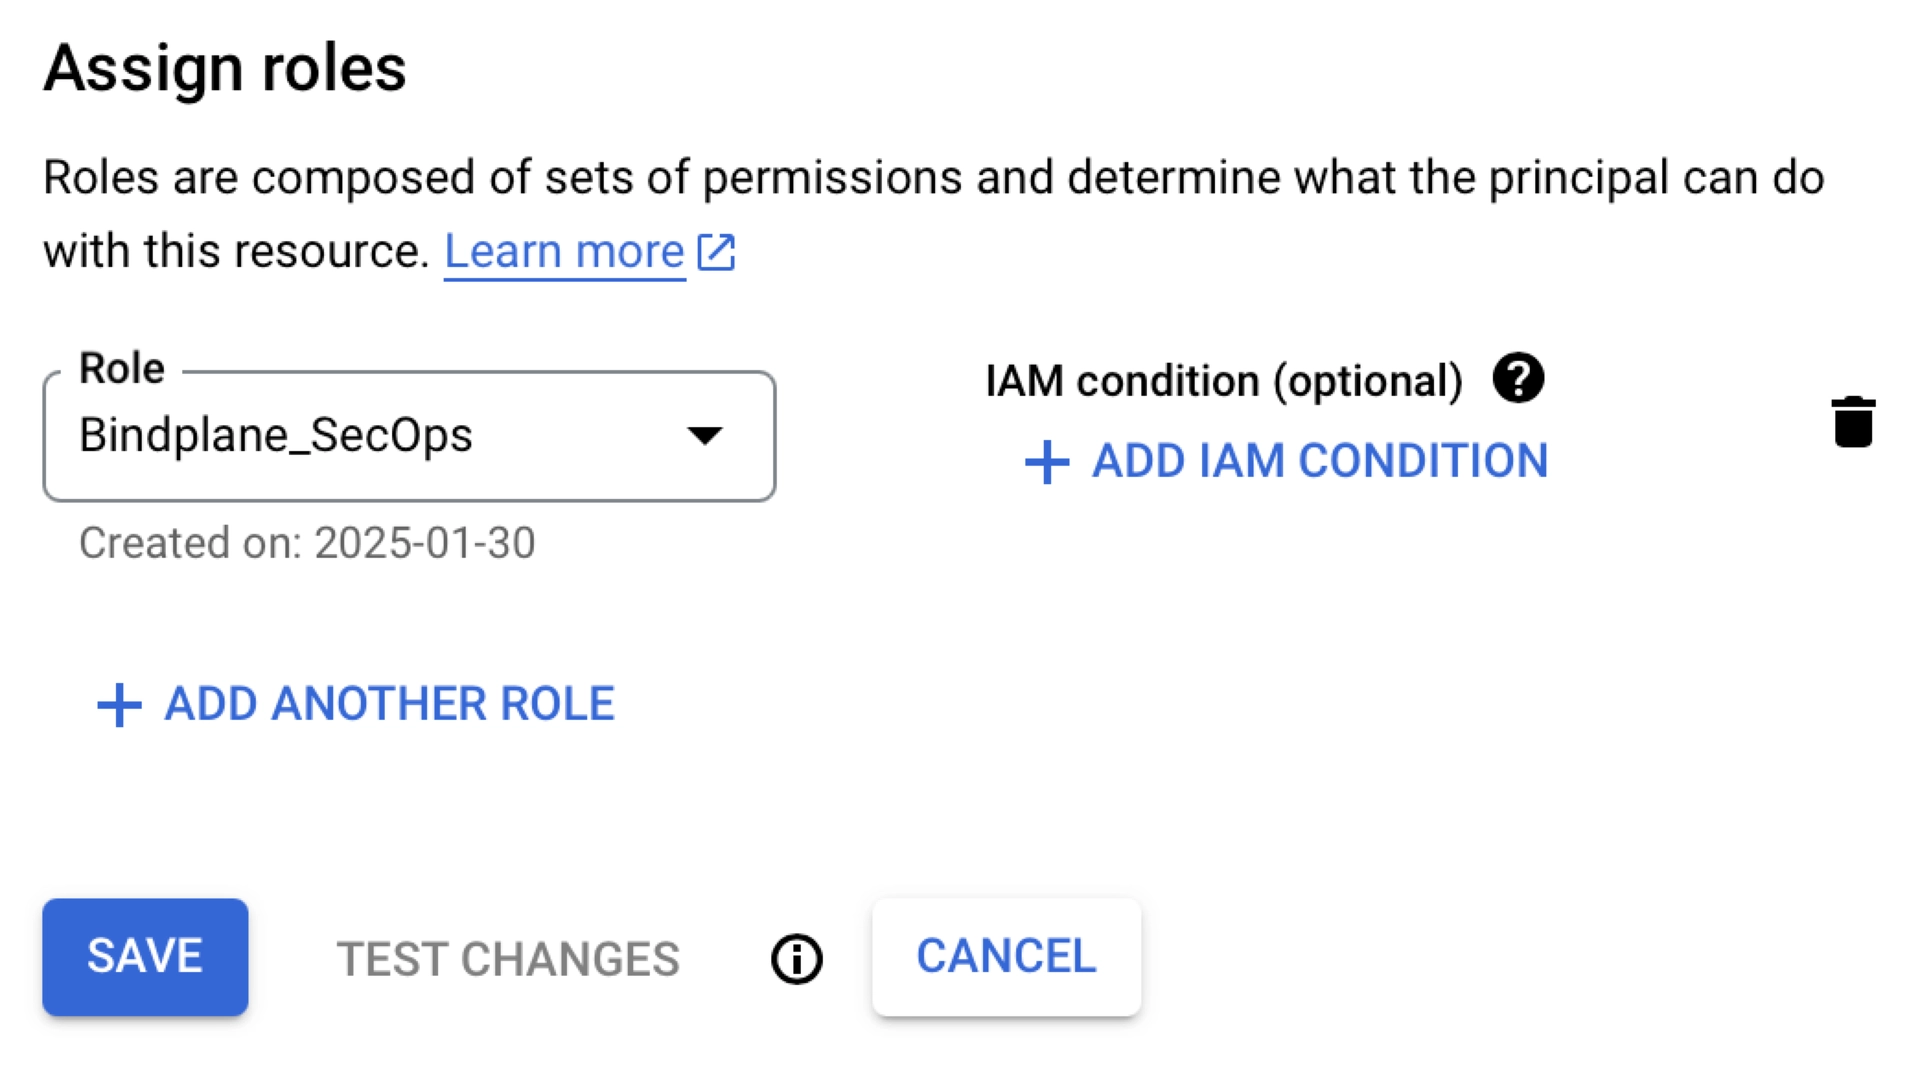
#### Assign Roles
The next section of the page will allow you to assign roles to the service account. We can use the new Role we just created for this purpose: `Bindplane_SecOps`
### Create an API Key
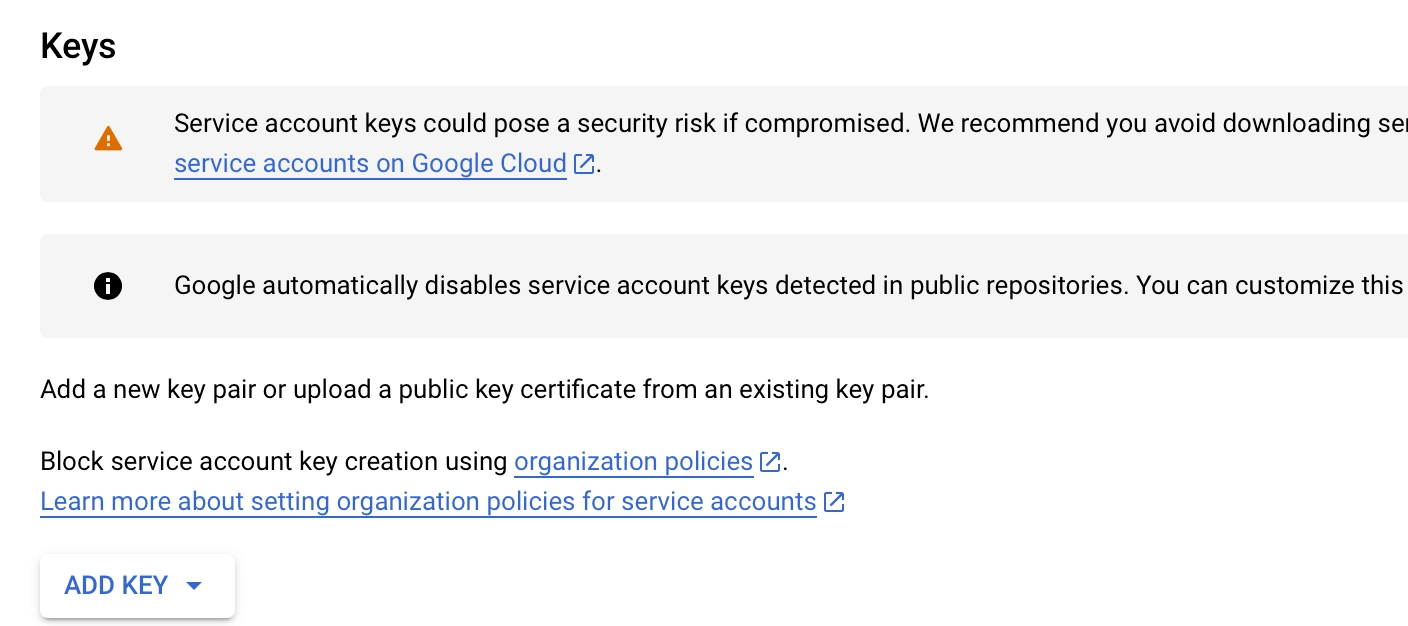
With that user created, on the "Service Accounts" page, click the 3 dots next to the new Service Account. Click "Manage Keys".
Click the "Add Key" drop-down and then the "Create New Key" button. You will want this in JSON.
This will download the key to your workstation, we will use it in Bindplane next.
#### Enable the API
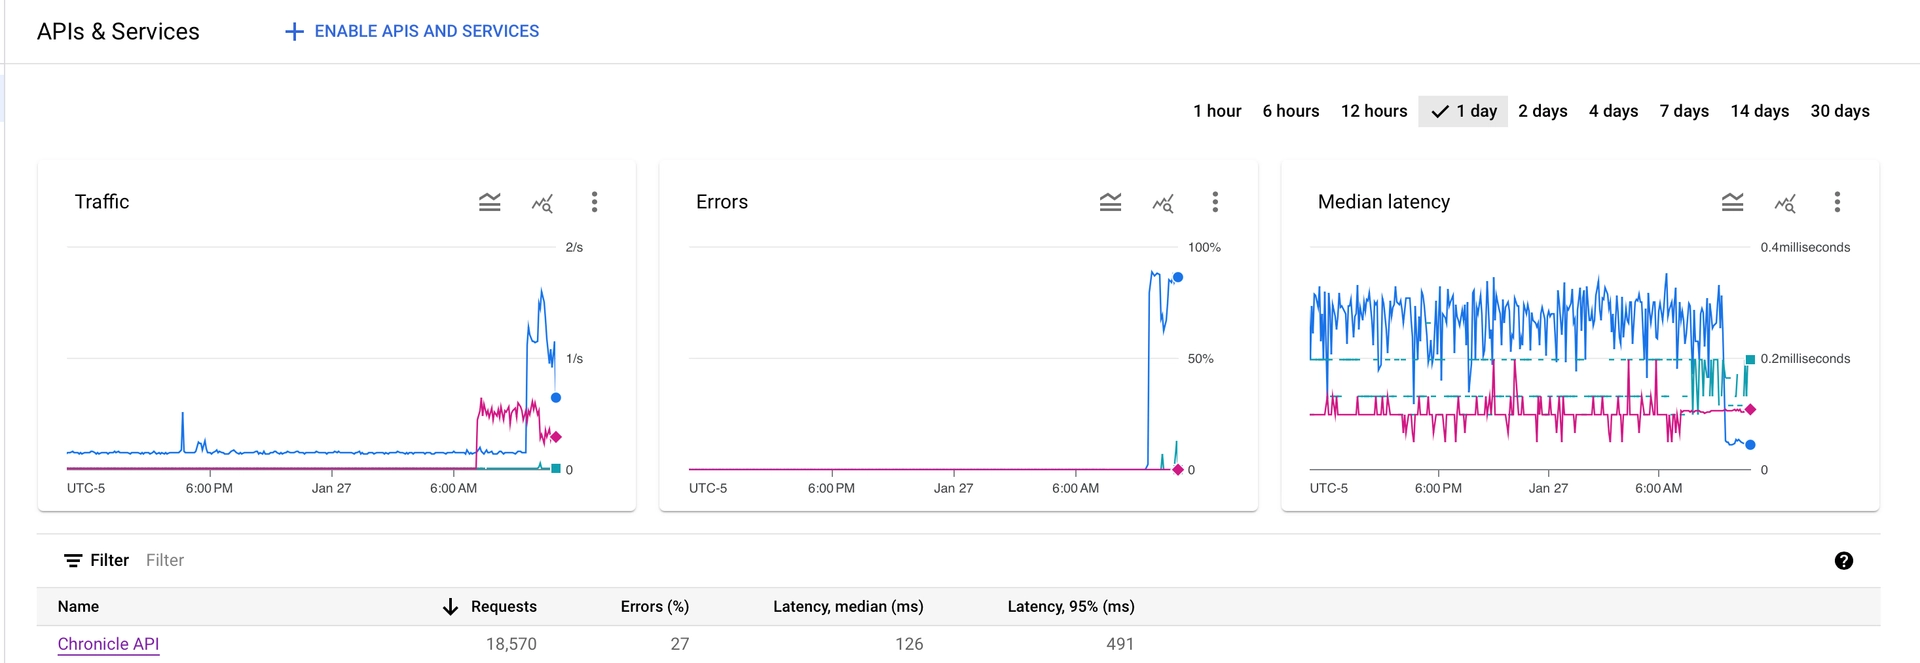
Navigate to the "API's & Services" section of Google Cloud and click the "Enable APIs and Services" button at the top of the screen.
Find "Chronicle API" using the search bar. Click the result and enable it if it is not already. Once enabled, it should look like the below screenshot.
### Configure the Google SecOps Destination
Now in Bindplane we can create a [Google SecOps destination](https://docs.bindplane.com/integrations/destinations/google-secops-chronicle).
Follow the documentation above and in Bindplane to correctly configure the destination. Ensure the protocol is set to `https`.
#### Verify Setup
Now that your destination has been added, you can check for telemetry in Google SecOps. If you do not see any you may want to add a 'Bindplane Collector' source so you can see your agents log and look for potential errors. Please open a [support ticket](https://docs.bindplane.com/support/) if you run into problems.
---
# Agent Instructions
This documentation is published with GitBook. GitBook is the documentation platform designed so that both humans and AI agents can read, navigate, and reason over technical content effectively. Learn more at gitbook.com.
## Querying This Documentation
If you need additional information that is not directly available in this page, you can query the documentation by asking a question.
Perform an HTTP GET request on the following URL with the `ask` and `goal` query parameters:
```
GET https://docs.bindplane.com/how-to-guides/partner-integrations/google-secops/google-secops-configuring-the-https-dataplane-api-protocol.md?ask=&goal=
```
`ask` is the immediate question: it should be specific, self-contained, and written in natural language.
`goal` is what the user is ultimately trying to achieve, the reason they need the answer. Sharing it helps GitBook give you a better, more relevant answer. A goal is most helpful when it describes the outcome the user wants rather than restating the question. For example, with `ask=how do I create an API token`, a goal like `automate deployments from our CI pipeline` lets GitBook tailor the answer to that use case.
The response will contain a direct answer to the question and relevant excerpts and sources from the documentation.
Use this mechanism when the answer is not explicitly present in the current page, you need clarification or additional context, or you want to retrieve related documentation sections.